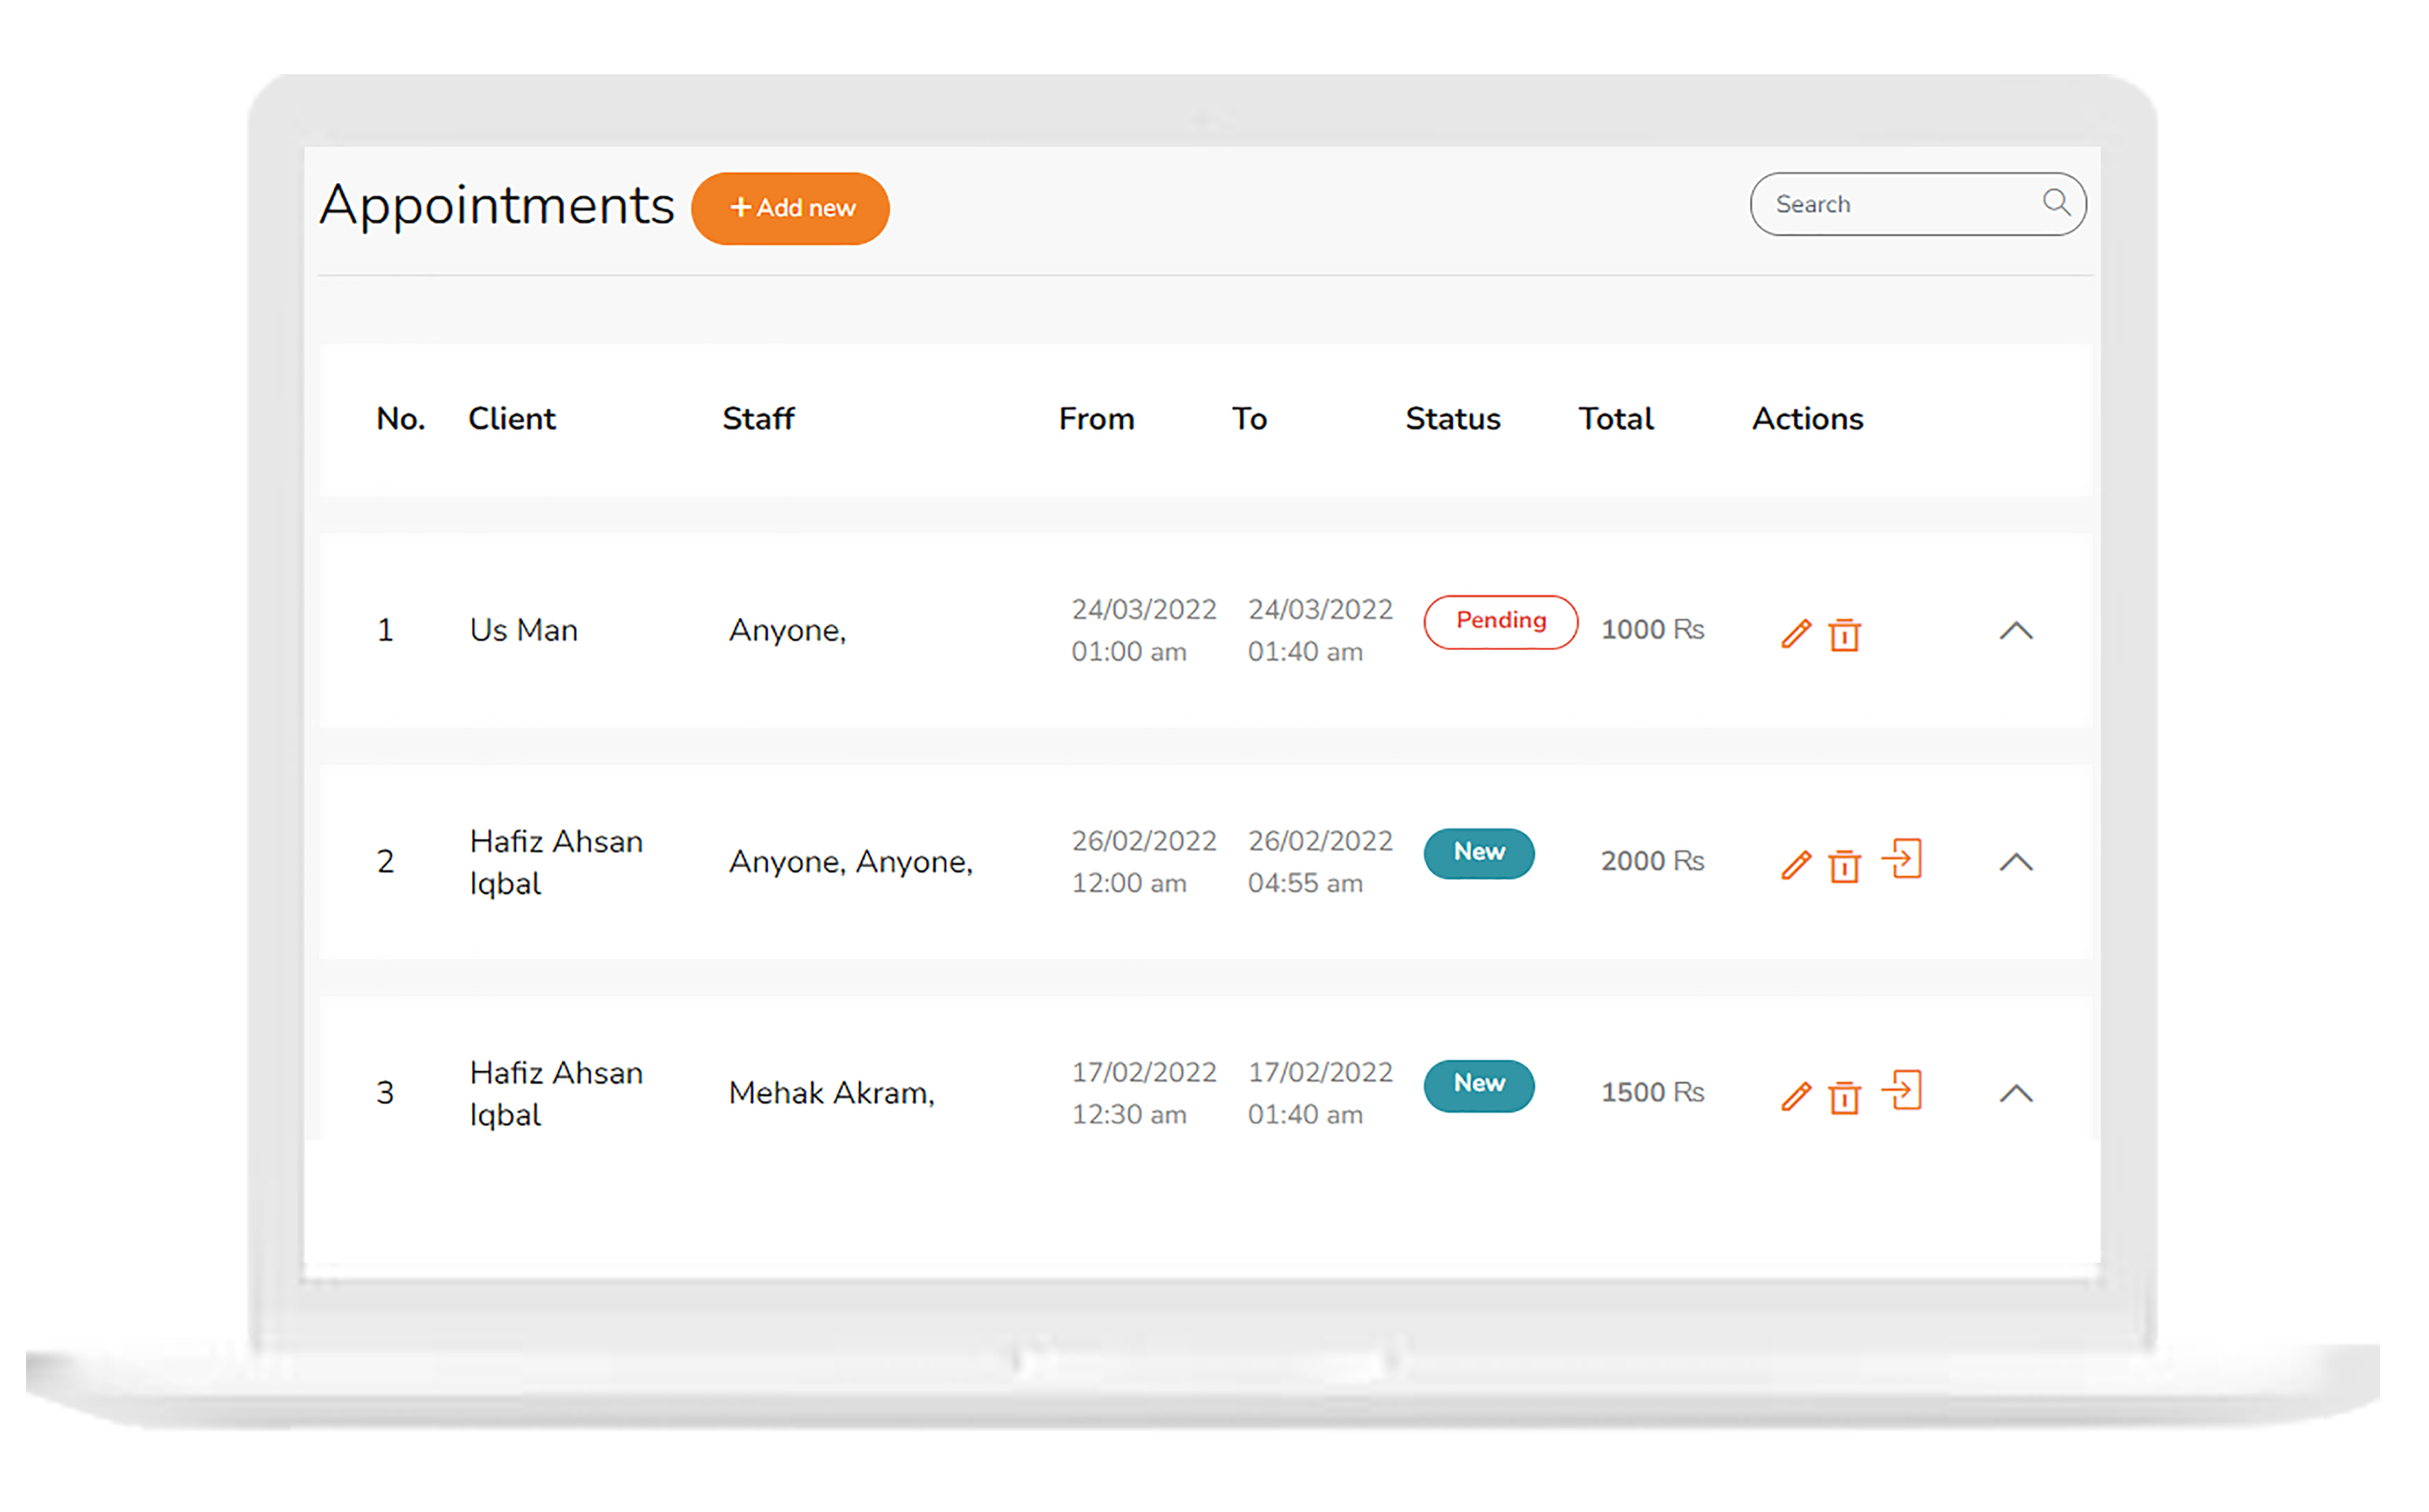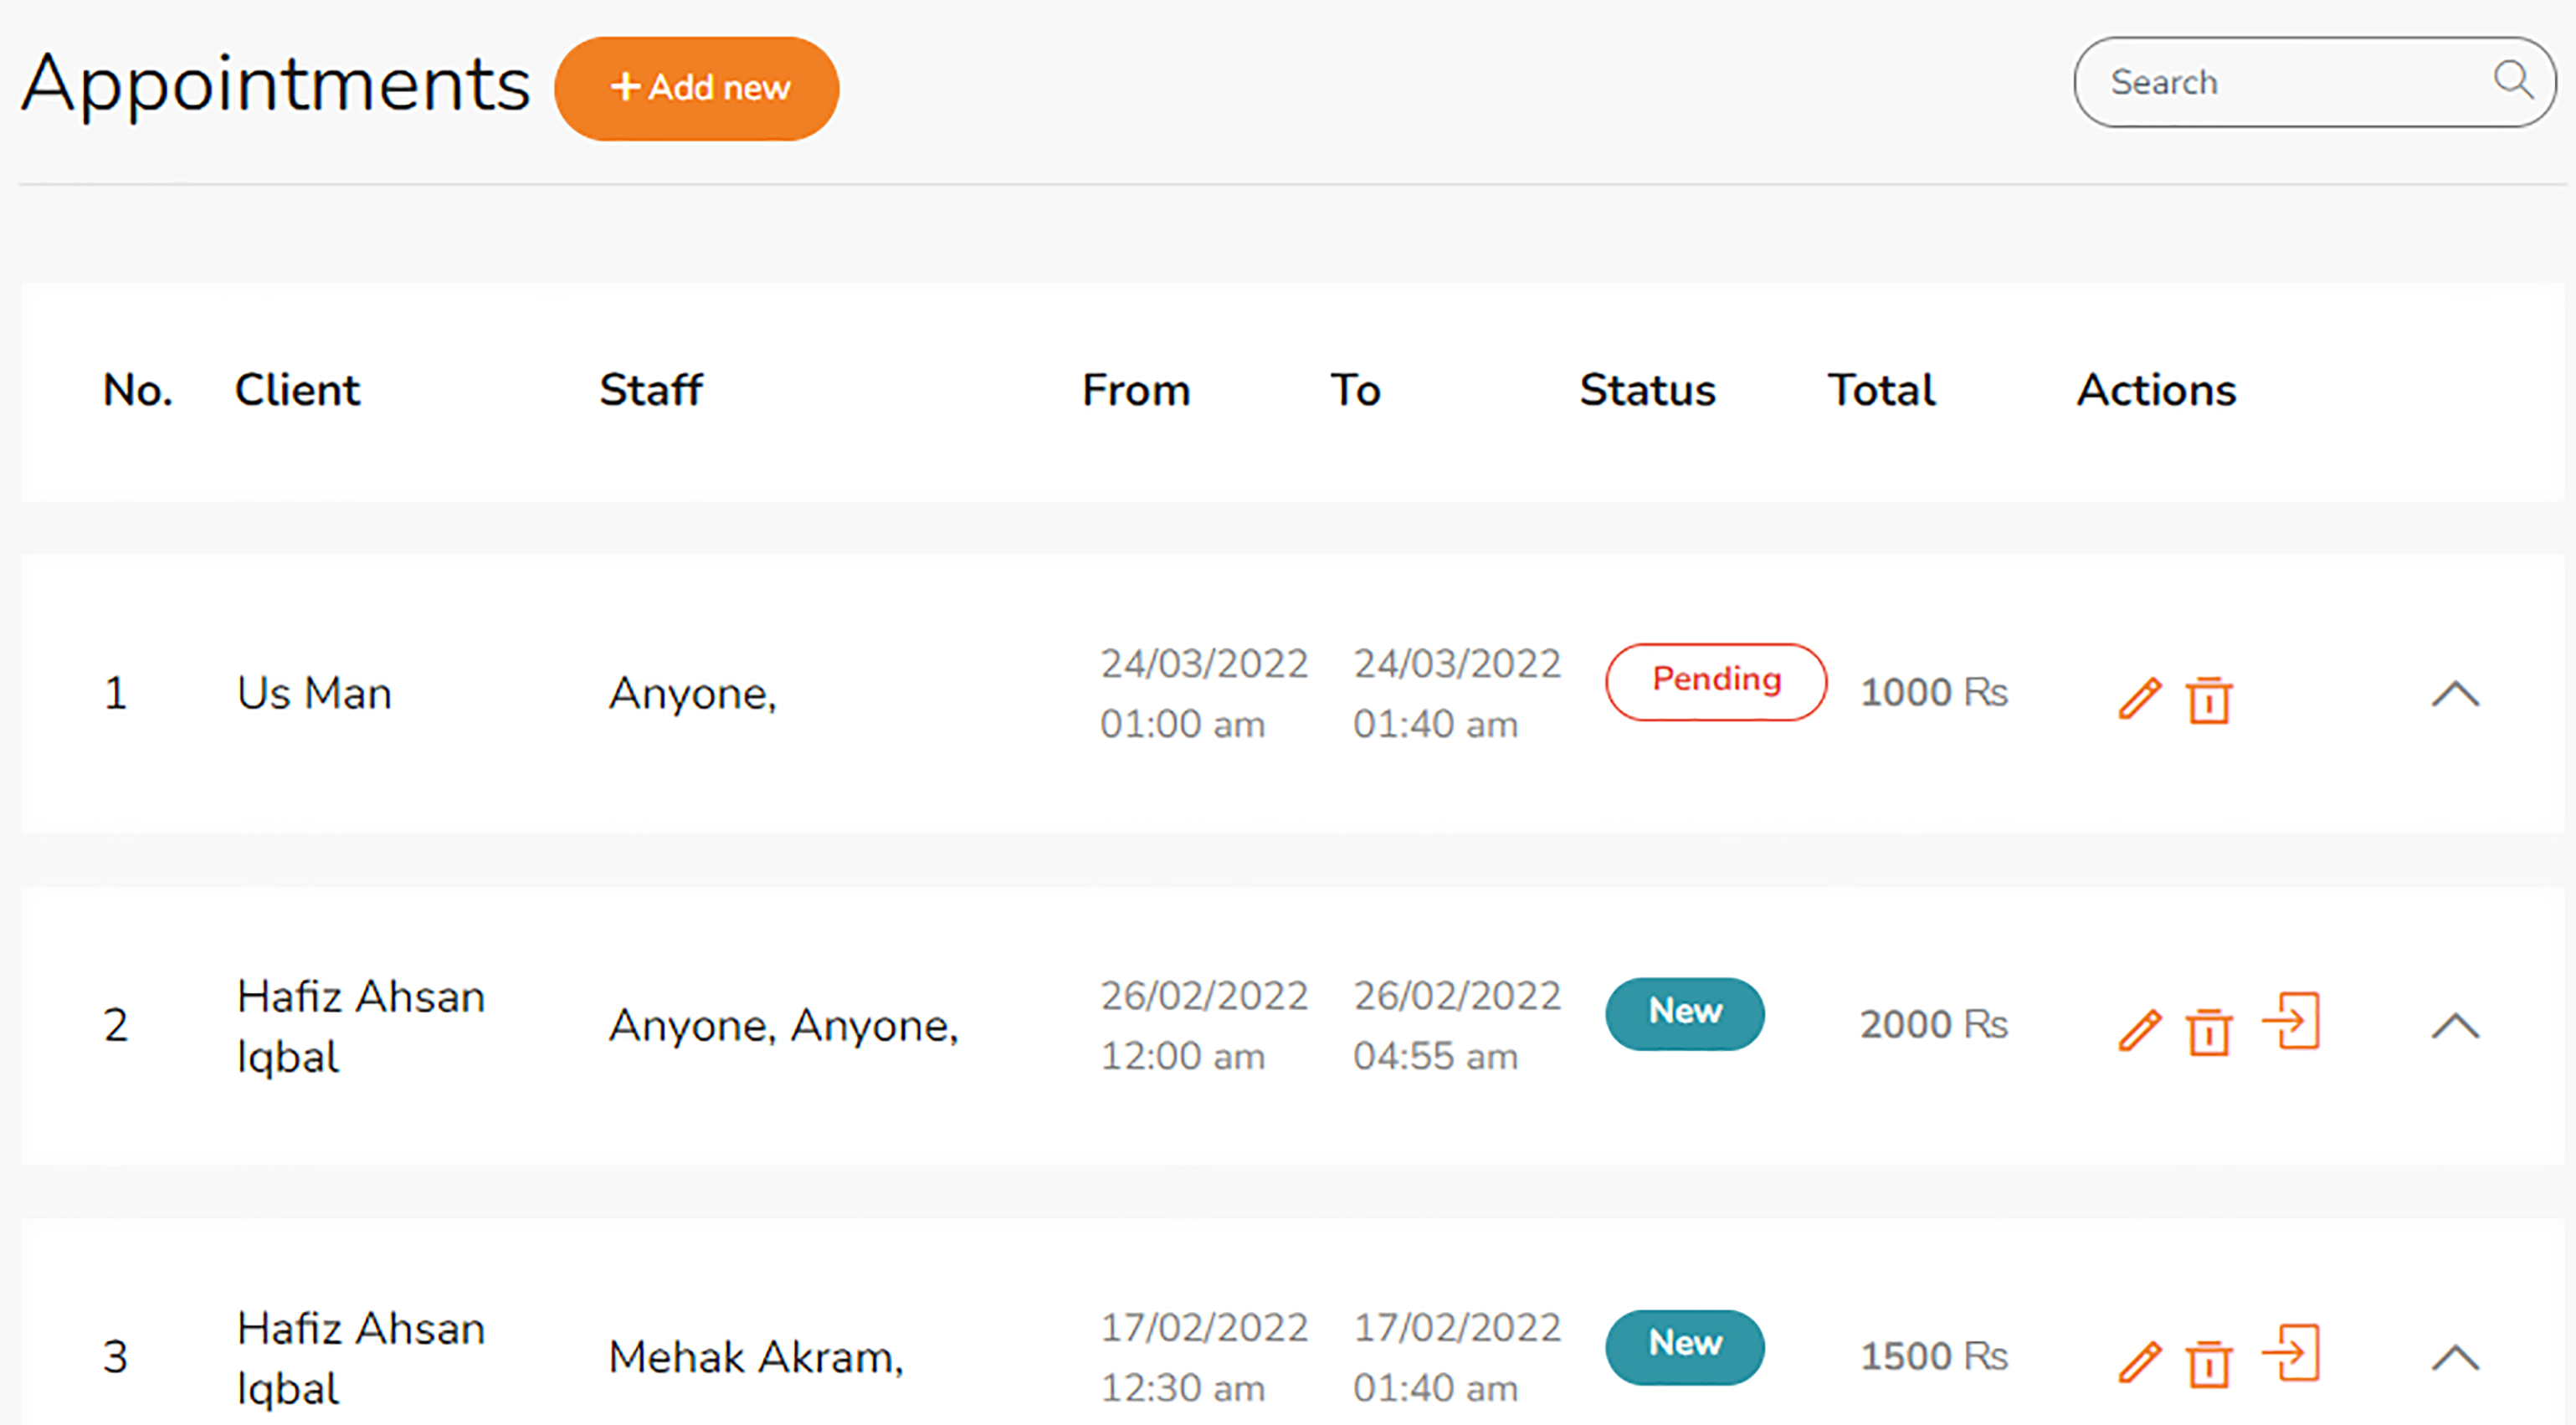
Appointments

Backed up in the cloud
Visible on all devices
Accessible from the quick launch bar
How Appointments Feature works

-
Click Add Appointment button
Clicking the add appointment button will open the box for the appointment details. -
Enter all the details
Input the client’s name, appointment time, serving staff member and the price of the service. -
Click Add
Simply click the add button to create the appointment.
Your questions, answered
What if the customer does not show up?
Simply click the edit button and change the status to ‘no show’.
How will I know if the appointment is successfully scheduled?
It will appear in the list of appointments and also on the dashboard.
.
Contact us

Education
$33
/ Per Month
- Product Recommendations
- Abandoned Cart
- Facebook & Instagram Ads
- Order Notifications
- Landing Pages
Popular 

Professional
$66
/ Per Month
- Product Recommendations
- Abandoned Cart
- Facebook & Instagram Ads
- Order Notifications
- Landing Pages

Business
$99
/ Per Month
- Product Recommendations
- Abandoned Cart
- Facebook & Instagram Ads
- Order Notifications
- Landing Pages